Brightspace
Prerequisites
A System Admin account in Brightspace.
All LTI 1.3 parameters from Agentic OS:
- Domain
- Redirect URL(s)
- OpenID Connect Login URL
- Key-set (JWK) URL
- Target Link URI (points to the specific agent you want to surface)
Register the Tool
Log in as a system admin and click the gear icon.
Choose Manage Extensibility.
Open the LTI Advantage tab.
Click Register Tool → Standard.
Fill out:
- Name and Description (anything you like)
- Paste the Domain, Redirect URL(s), OpenID Connect Login URL, and Key-set URL provided by Agentic OS
- Target Link URI → link to the exact agent (varies per integration)
Leave Extensions, Roles, Substitution Parameters, and Custom Parameters blank unless Agentic OS instructs otherwise.
Save the registration.
Copy the Registration Details (they include the issuer, client ID, etc.) and send them back to Agentic OS so they can complete their side of the setup.
Create a Deployment
- In the same LTI Advantage area, click View Deployments.
- Choose New Deployment (or open the one you just created).
- Under Security Settings, check the user-related boxes so Brightspace passes learner identity to Agentic OS.
- If the agent will push grades back, enable Assignments and Grade Services.
- Under Configuration Settings, tick Make Tool Available to the Org so any course can use it.
- Save the deployment.
- Copy the Deployment ID and provide it to Agentic OS (needed to finish the integration).
Create a Link to the Agent
Still inside the deployment, click View Links → New Link.
Fill out:
- Name (e.g., “Agentic OS – Biology Tutor”)
- URL → the same Target Link URI you used in registration
- Type of Launch → Basic
Save the link.
Add the Agent to a Course
- Return to the Brightspace homepage and open a course.
- Navigate to the content area or module where you want the agent.
- Click Add Existing → External Tool Activity.
- Select Agentic OS from the tool list.
- Publish the item so learners can see it.
Result
- Register Tool with Agentic OS-supplied URLs.
- Deploy it, enabling user identity (and grade services if needed).
- Create a Link pointing to the specific agent.
- Insert the link into any course via External Tool Activity.
Your Agentic OS assistant is now live in Brightspace, ready to help learners directly inside their course pages.
Brightspace Deep Linking
Purpose
Integrate Agent AI content into Brightspace courses using LTI Deep Linking.
This allows administrators to insert specific agents directly into course content modules.
Step 1 — Configure the Tool in Brightspace
- Go to the Manage Extensibility section as an admin
- Open the LTI Advantage tab
- Add a new tool or update an existing one
- No main registration settings need to change
- Under Extension Settings, make sure Deep Linking is enabled
- Go to Deployments
- Open an existing deployment
- Confirm that Deep Linking is marked
- (Optional) Adjust additional settings if needed (e.g., send user info)
- Save changes
Step 2 — Add the Deep Linking Launch
- In the Deployments, go to Links
- Add or edit a link that uses the Deep Linking Launch URL
- Adjust display settings:
- Height and width
- Type should be Quicklink so content can be selected
- Save and close
Step 3 — Insert Into a Course
- Open a course in Brightspace
- Navigate to Course Content
- Select a unit or create one
- Click Add Existing
- Choose the Deep Linking option (instead of the standard external tool)
- Select the deep linking configuration you set earlier
- A content picker opens, showing the agents available for your tenant
- Agents display with their names for easy selection
- Pick the desired agent and add it to the course
Result
The chosen agent appears as integrated course content. Learners can launch it directly, and administrators can repeat the process for additional agents or resources.
Course to Deep-Link
Purpose
Set up a agent for LTI Deep Linking so you can add it to your LMS (e.g., Brightspace) yourself—assuming the base integration exists and deep linking is enabled.
1) Get the Agent ID
- Open the agent you want to integrate.
- Copy the unique identifier from the agent’s URL.
2) Create the Course in Studio
- Go to ibl.ai Studio.
- Create a new course (e.g., “Socratic Agent”) and choose the organization.
Settings → Schedule & Details
- Set the Course Start Date to a time in the past.
- Set Enrollment Start to at least a day before the start date.
- Click Save.
Settings → Advanced Settings
- In the advanced modules list, add:
"ibl mentor_xlog"
(This enables the agent component.) - Save changes.
3) Add the Agent Component
- Go to Outline → add Section → Subsection → Unit.
- Click Advanced → Add New Component → Agent.
- Click Edit and paste the agent’s unique ID you copied earlier.
- Set the Display Name (e.g., “Socratic Agent”).
Optional Settings (from the demo)
- Context Awareness: Enter your LMS domain; copy it into the Agent Domain and Domain fields.
- Anonymous: Toggle if you want users to chat without authentication.
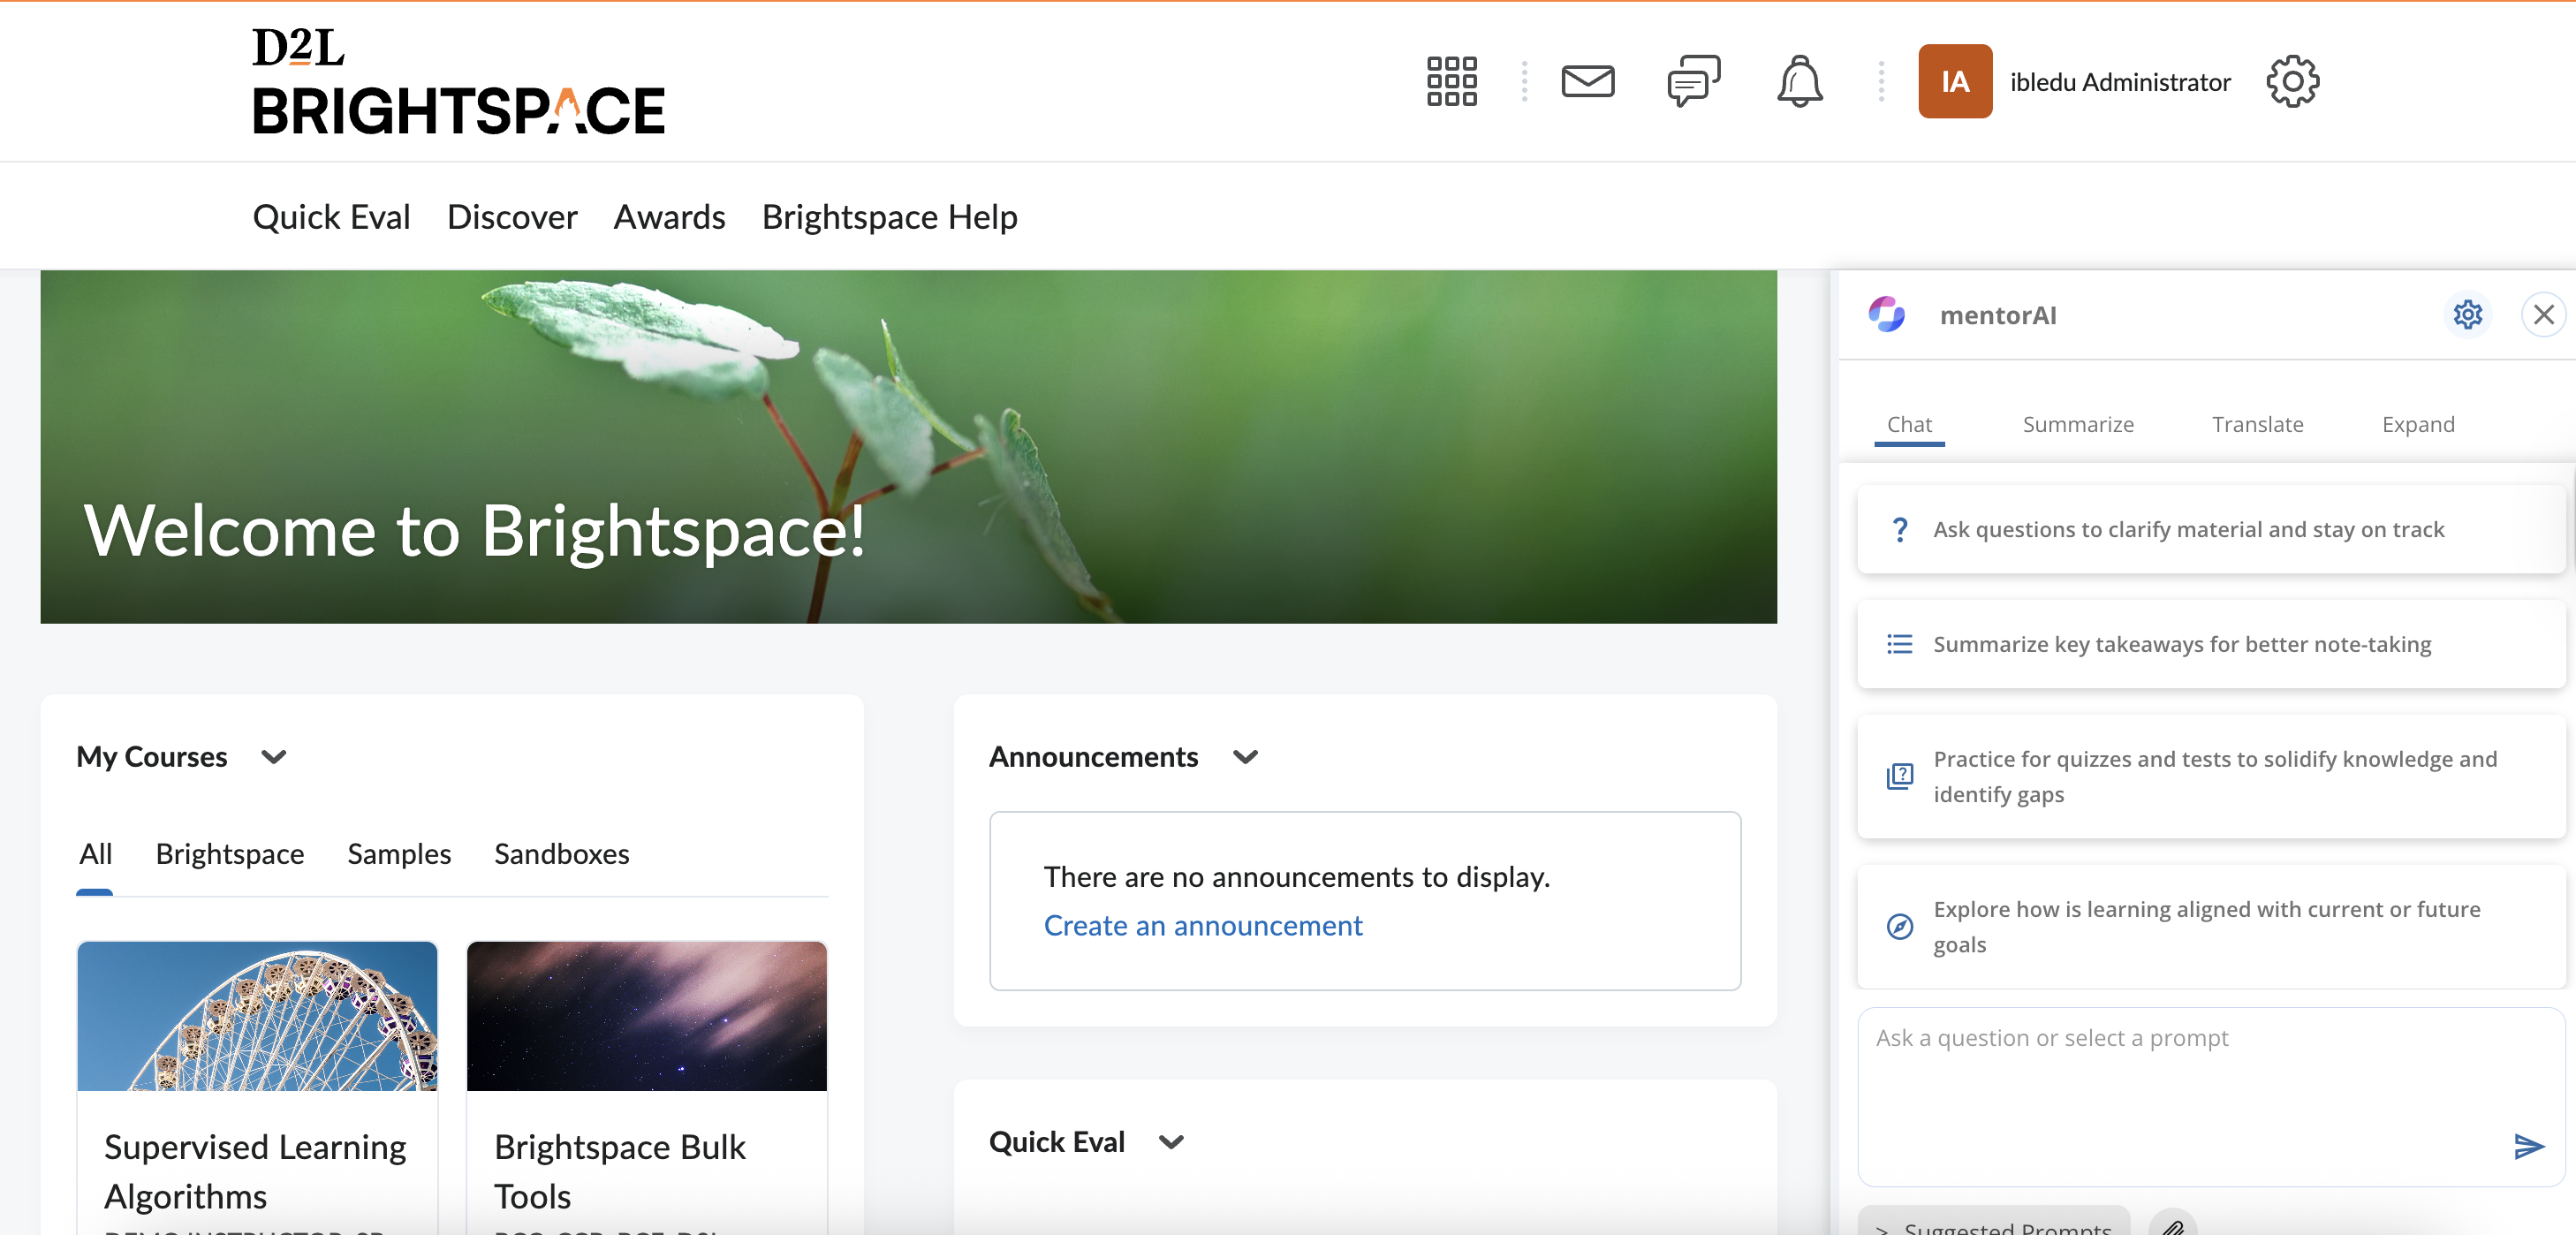
- Advanced View: Enable tabs like Summarize, Translate, Expand.
Click Save and Publish the unit.
Result
Your agent is published in Studio and selectable via deep linking in your LMS—letting you add agents to courses on your own.