Canvas
Prerequisites
- You must be a Canvas admin.
- Obtain all LTI parameters from the Agentic OS team (redirect URI, target link URL, OpenID details, JWK URL, etc.).
Create a Developer Key
In Canvas, open Admin → Developer Keys.
Click Add Developer Key and choose LTI Key.
Fill the form:
- Name: Agentic OS (or similar).
- Owner Email: your contact.
- Configuration Type: Manual Entry.
- Redirect URI: paste the value supplied by Agentic OS.
- Title / Description: e.g., “Agentic OS – LTI 1.3 integration.”
- Target Link URI: The agent link provided by Agentic OS.
- OpenID Connect Initiation URL: supplied by Agentic OS.
- JWK Method: select JWK URL and paste the URL from Agentic OS.
- Placements: enable Account Navigation (top-level link) and/or Link Selection (in-course content).
Save the key and set its State to On.
Note the Client ID shown in the list (you’ll need it shortly).
Register the Key as an App
- Navigate to Admin → Settings → Apps.
- Click View App Configurations → Add App.
- Choose By Client ID.
- Paste the Client ID from the Developer Key page and submit.
- The Agentic OS app now appears in the list.
- Open the app’s settings to confirm or adjust Placements.
- Copy the Deployment ID(s)—send them to Agentic OS so they can finalize the provider-side setup.
Add Agentic OS to a Course
- Go to Courses and open the desired course.
- Enter Modules.
- Click + Module, give it a name, and Add Module.
- Inside the new module, press + to add an item.
- Select External Tool.
- Choose Agentic OS from the list (URL and page name auto-populate).
- Leave Load in a New Tab unchecked unless preferred.
- Click Add Item, then Publish the module item.
- Once published, learners will see and access the integrated agent directly in Canvas.
Result
- Developer Key creates the LTI credentials.
- Client ID registers the app inside Canvas.
- Deployment ID completes provider-side setup.
- Modules → External Tool inserts Agentic OS into any course.
Your Agentic OS LTI integration is now live in Canvas, ready for learners to use.
Canvas Deep Linking
Purpose
Integrate Agentic OS content into an LMS course (example shown in Canvas) using LTI Deep Linking. This enables administrators to insert specific agents or tools directly into course modules.
Step 1 — Configure the Tool in Canvas
- Go to the Admin Menu
- Select Developer Keys
- Either create a new tool or edit an existing one
- In the tool’s configuration:
- Scroll to Link Selection
- Enter the Target Link URI for the deep-linking launch
- Set the Message Type to LTI Deep Linking Request
- Save your changes
Step 2 — Add Deep Linking to a Course
- Navigate to the desired course
- Add an External Tool
- Select the Deep Linking Launch option you configured
- A content selection menu appears
Step 3 — Choose and Insert Content
- From the selection menu, pick the agent or resource to integrate (e.g., Career Path Agent)
- The LMS returns the Target Link URI and a suggested title
- Add the item
Result
The selected Agentic OS content is now embedded in the course and ready to launch directly through LTI Deep Linking.
Course to Deep-Link
Purpose
Set up a agent for LTI Deep Linking so you can add it to your LMS (e.g., Canvas) yourself—assuming the base integration exists and deep linking is enabled.
1) Get the Agent ID
- Open the agent you want to integrate.
- Copy the unique identifier from the agent’s URL.
2) Create the Course in Studio
- Go to ibl.ai Studio.
- Create a new course (e.g., “Socratic Agent”) and choose the organization.
Settings → Schedule & Details
- Set the Course Start Date to a time in the past.
- Set Enrollment Start to at least a day before the start date.
- Click Save.
Settings → Advanced Settings
- In the advanced modules list, add:
"ibl mentor_xlog"
(This enables the agent component.) - Save changes.
3) Add the Agent Component
- Go to Outline → add Section → Subsection → Unit.
- Click Advanced → Add New Component → Agent.
- Click Edit and paste the agent’s unique ID you copied earlier.
- Set the Display Name (e.g., “Socratic Agent”).
Optional Settings (from the demo)
- Context Awareness: Enter your LMS domain; copy it into the Agent Domain and Domain fields.
- Anonymous: Toggle if you want users to chat without authentication.
- Advanced View: Enable tabs like Summarize, Translate, Expand.
Click Save and Publish the unit.
4) Add It in Your LMS (Canvas Example)
- In Canvas, go to your course → Add New Item → External Tool.
- Select your existing Deep Linking tool.
- In the picker, choose the Socratic Agent you just created.
- Add the item. It now appears in the course for launch.
Result
Your agent is published in Studio and selectable via deep linking in your LMS—letting you add agents to courses on your own.
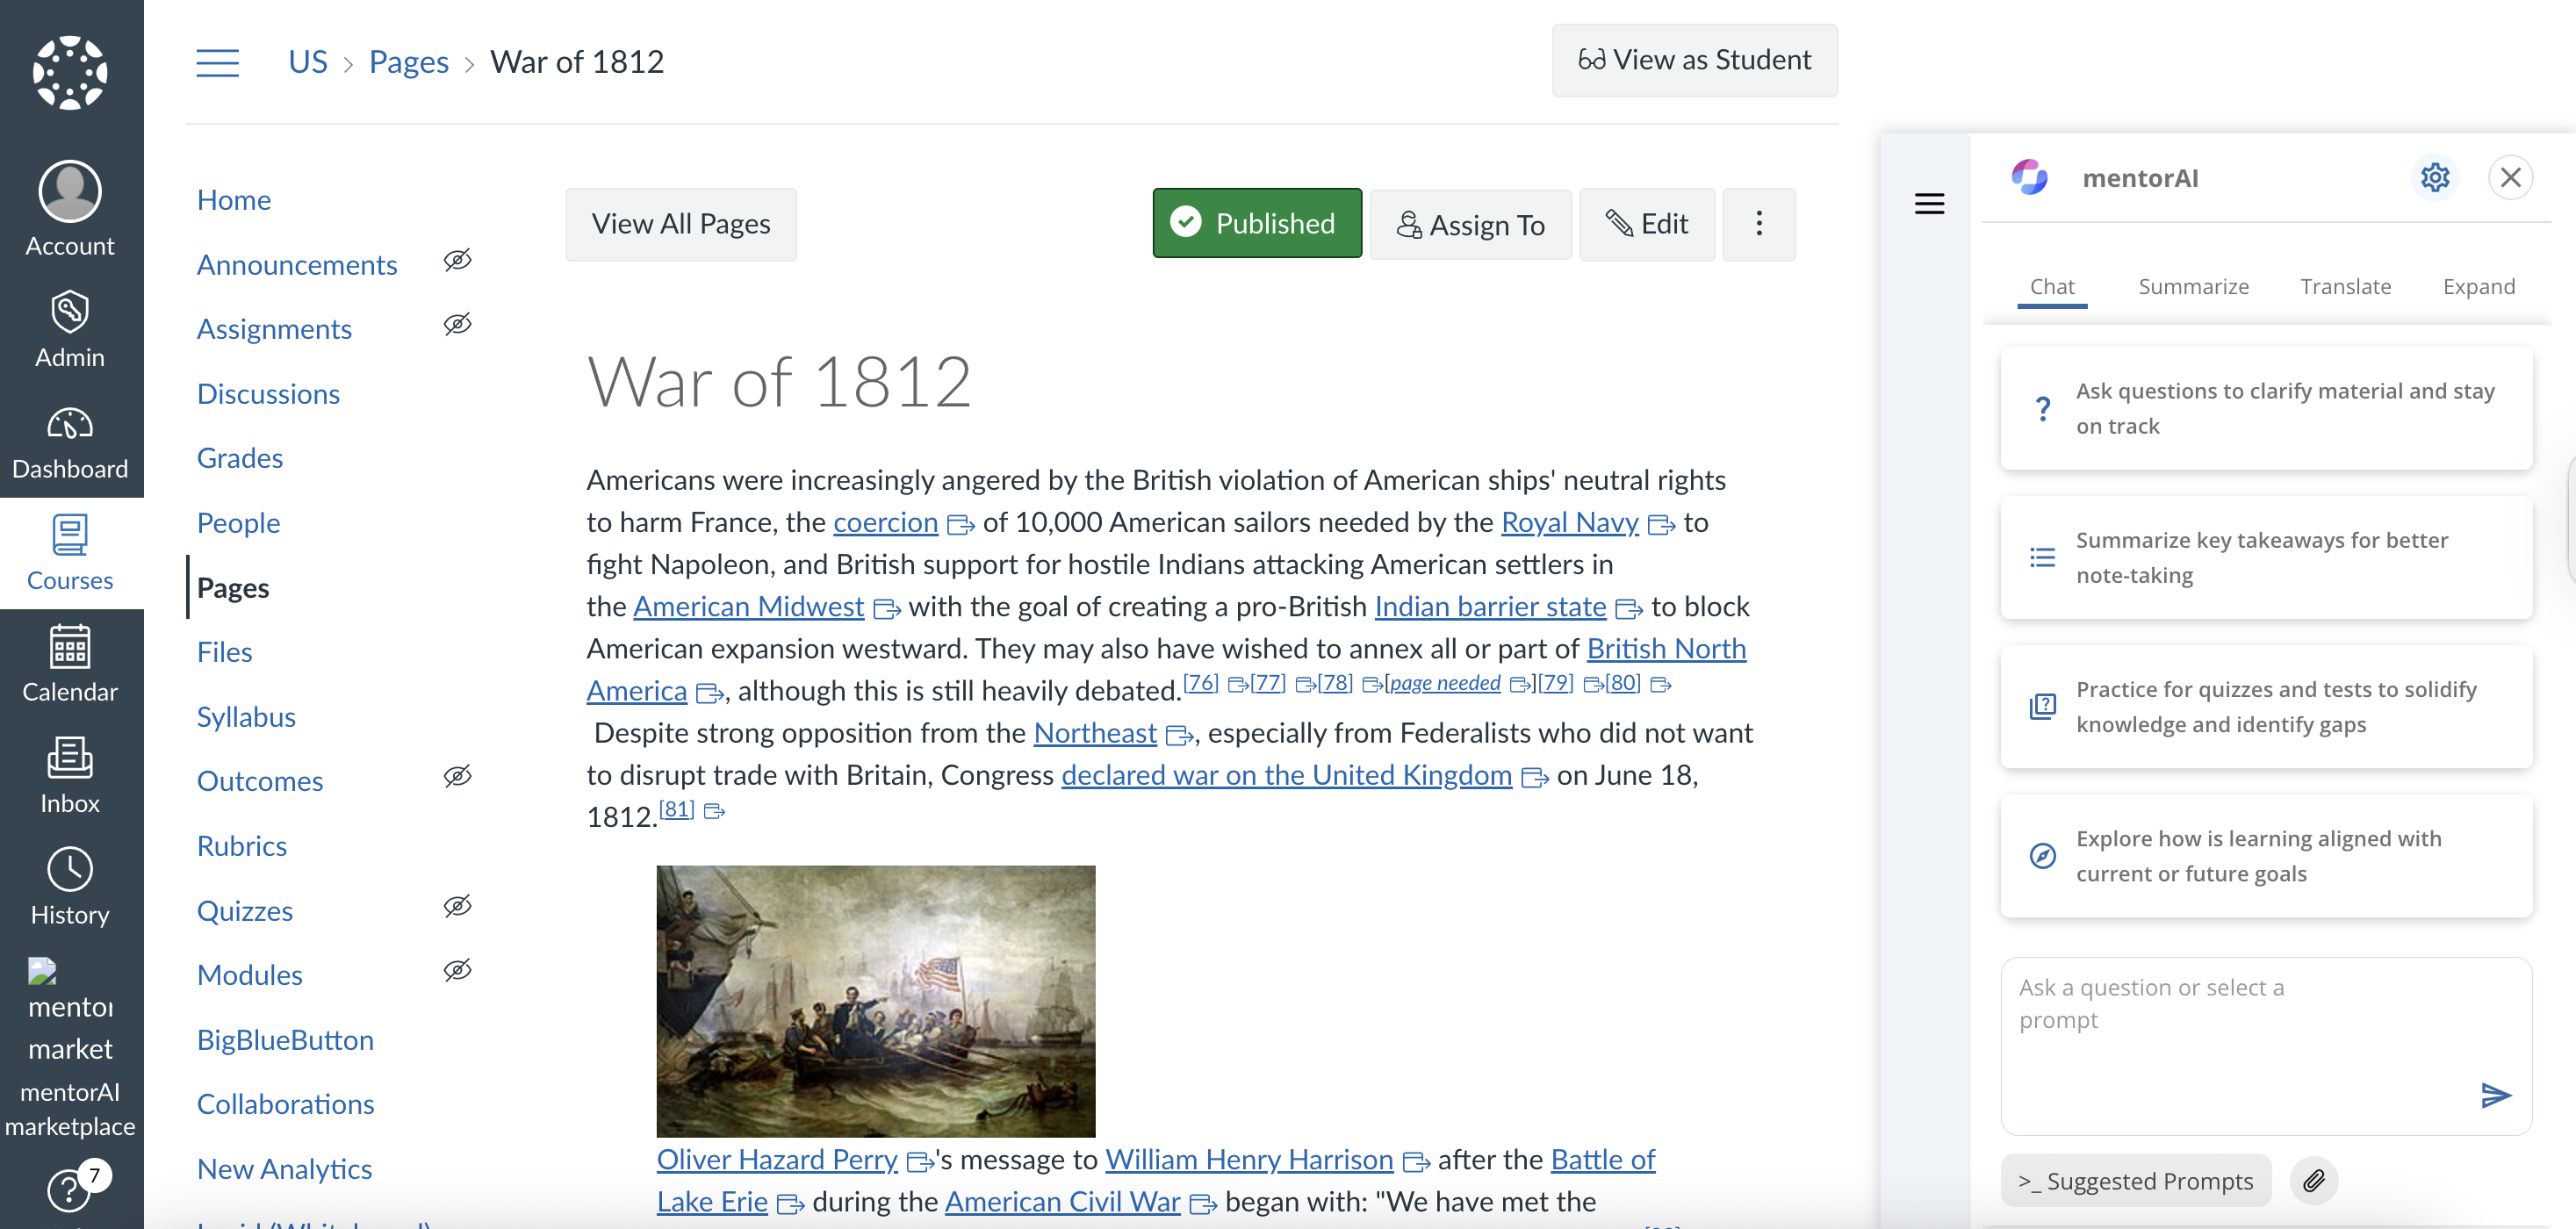
Chat Persistence
Purpose
Keep your agent conversation active and uninterrupted in the Canvas side panel when you navigate between pages—no reset or loss of context.
Steps
In the Canvas side panel, ask a question
Example:“What is the War of 1812?”
Navigate to a different page in the same Canvas course.
The agent automatically remembers where you left off, restores the same chat thread, and you can continue the conversation seamlessly.
Result
Your chat persists across page changes in Canvas, allowing you to keep talking to the agent without losing the conversation thread.