Organization Settings: Groups
Overview
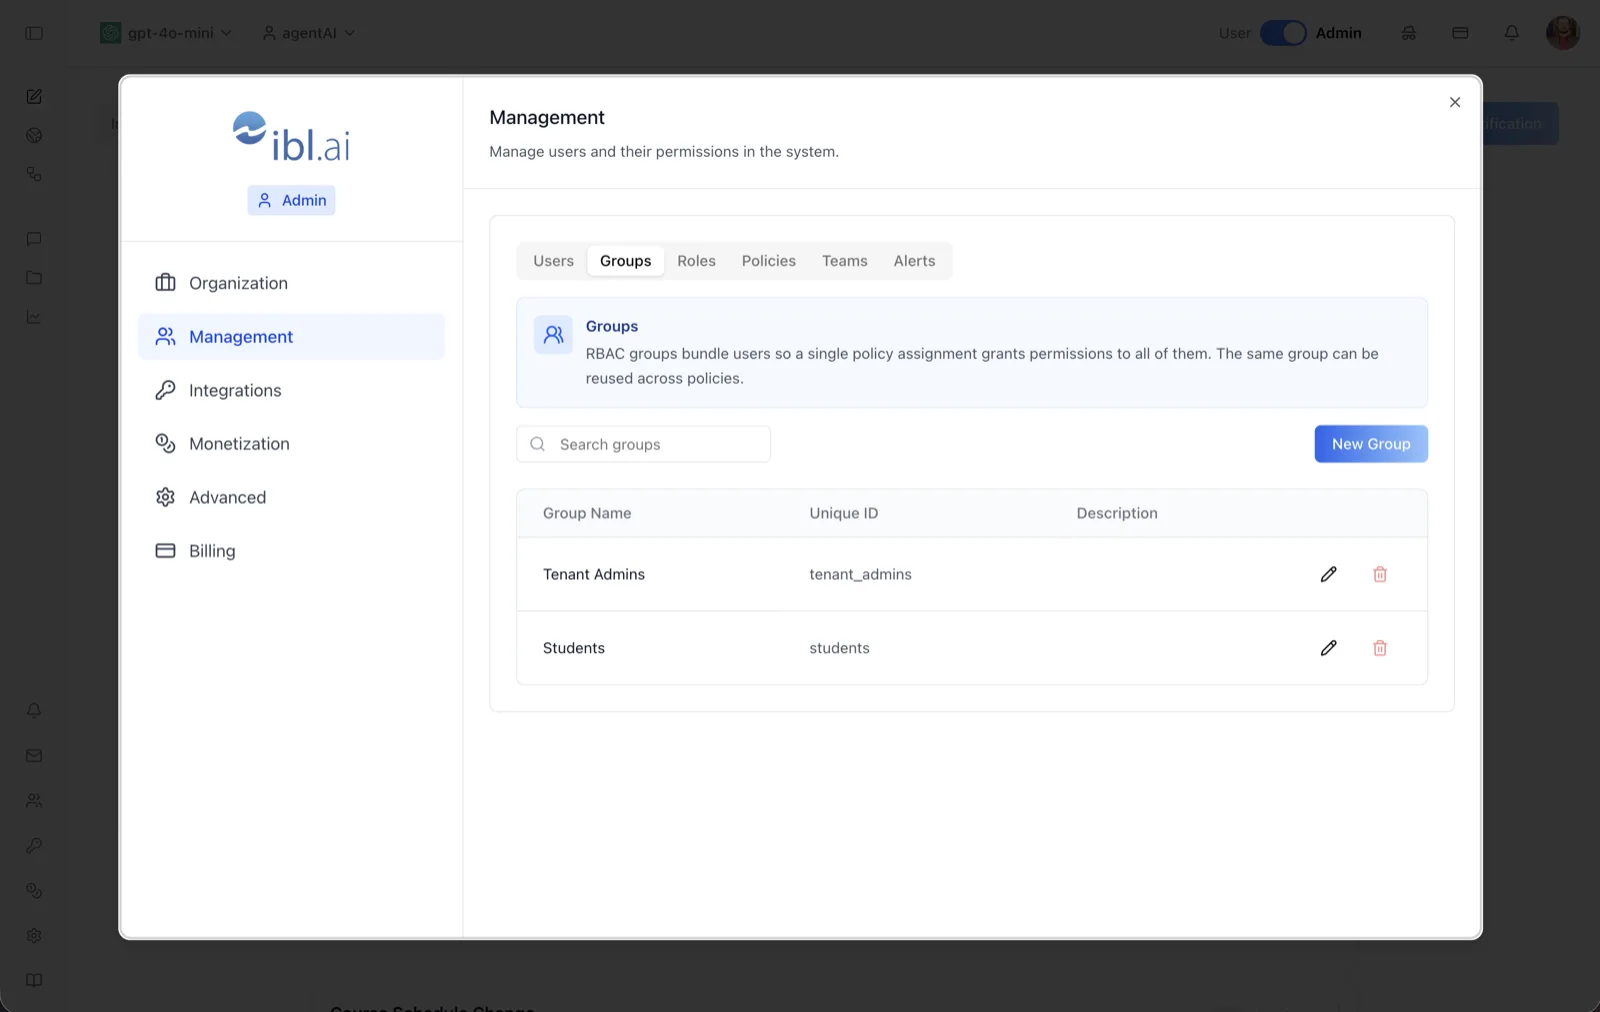
The Groups tab manages RBAC groups for the organization. As the on-screen description says: "RBAC groups bundle users so a single policy assignment grants permissions to all of them. The same group can be reused across policies."
Groups are the scaling mechanism for access control. Instead of attaching a policy to dozens of individual users, you place users in a group once and reference that group from any number of policies — for example, an organization_admins group or a students group.
To reach it, switch the top-bar toggle to Admin, open the settings dialog, choose Management, and select the Groups tab (alongside Users, Roles, Policies, Teams, and Alerts).
Target Audience
Administrator
Fields and Controls
Search groups
A search box that filters the group list by name as you type.
New Group
Opens the New Group dialog. It contains a Group Name field (required), a Description field, and a Group Members section where you type to search the organization's users and add them one by one. Added members are listed with name and email and can be removed before saving.
Group Name column
The human-readable name of the group (for example, "Organization Admins" or "Students").
Unique ID column
The group's machine identifier (for example, organization_admins, students). This is the stable ID that policies and API calls reference, and it stays constant even if the display name changes.
Description column
An optional free-text description of what the group is for. Empty if none was provided.
Edit (pencil) icon
Opens the same dialog as New Group, pre-filled, so you can rename the group, update its description, or add and remove members.
Delete (trash) icon
Deletes the group after confirmation. Policies that referenced the group no longer grant its members those permissions.
How to Use
Step 1: Open the Groups tab
In Admin mode, open the settings dialog, click Management, and select Groups.
Step 2: Create a group
Click New Group, enter a name and optional description, then use the member search to add users. Save the dialog; the group appears in the table with its unique ID.
Step 3: Use the group in a policy
Go to the Policies tab and create or edit a policy, adding this group in the policy's Groups section. Every member of the group immediately receives the policy's permissions.
Step 4: Maintain membership
Click the pencil icon on a group's row to add or remove members as people join or leave. Permission changes take effect through the existing policy assignments — no policy edits needed.
Step 5: Remove a group
Click the trash icon to delete a group that is no longer needed. Review which policies reference it first, since its members lose those grants.